
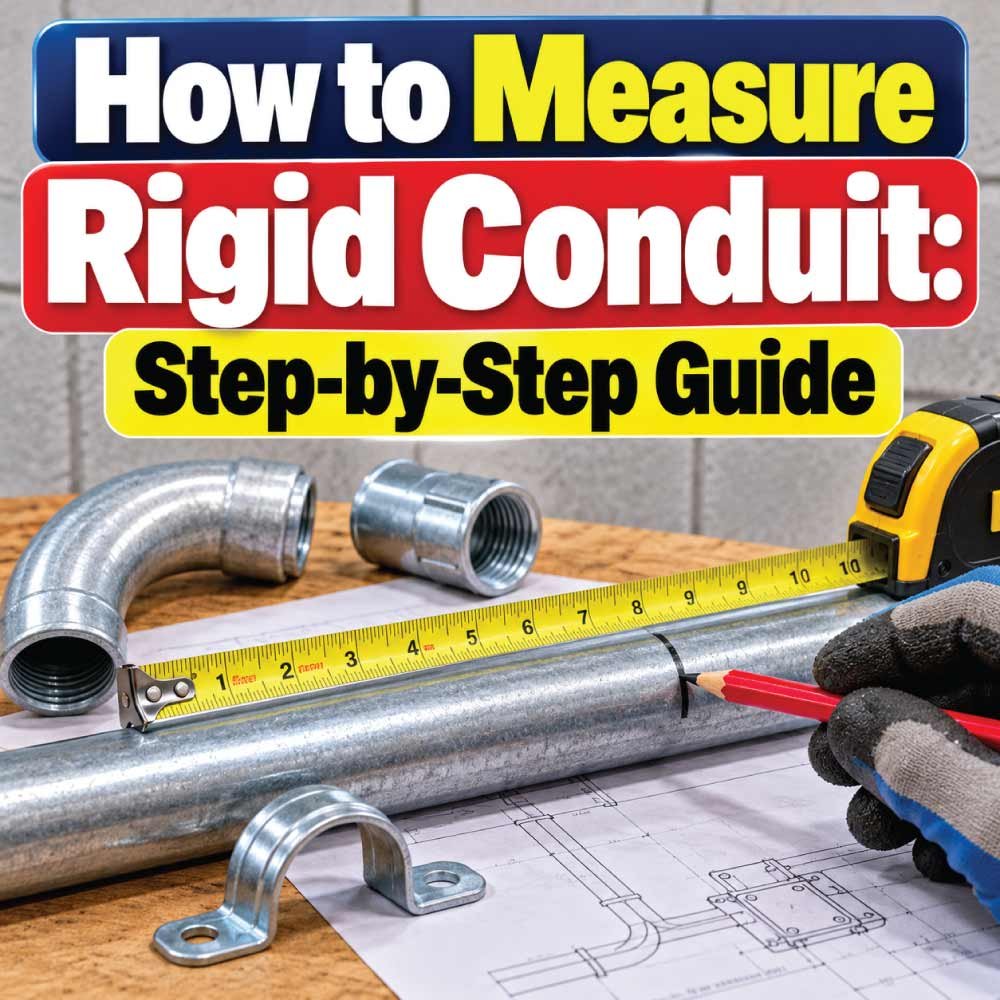
Measuring rigid conduit correctly is important when planning an electrical installation, replacing an existing raceway, or determining whether enough space is available for conductors. Unlike ordinary pipe, rigid electrical conduit uses standardized trade sizes, so its labeled size does not necessarily equal its actual inside or outside diameter.
To measure rigid conduit accurately, you need to identify the conduit type, determine its trade size, measure or verify its inside diameter, and evaluate the conductors that will be installed inside it. This guide explains how to measure rigid conduit, calculate usable space, understand conduit dimensions, and choose an appropriate size for an electrical wiring project.
What Is Rigid Conduit?
Rigid conduit is a strong electrical raceway designed to protect insulated conductors from physical damage and environmental conditions. Common rigid raceway systems include Rigid Metal Conduit (RMC) and Intermediate Metal Conduit (IMC).
Rigid conduit is commonly manufactured from steel or other approved materials and uses threaded connections and fittings in many installations. Its heavier construction provides substantial mechanical protection compared with lighter raceway options.
Rigid Metal Conduit vs. Intermediate Metal Conduit
RMC and IMC are similar in appearance but are not identical.
| Feature | RMC | IMC |
|---|---|---|
| Construction | Heavier-wall metal raceway | Lighter than RMC |
| Mechanical Protection | High | High |
| Threaded Connections | Common | Common |
| Weight | Generally heavier | Generally lighter |
| Typical Applications | Demanding installations | Commercial and industrial wiring |
The exact dimensions, wall thickness, weight, and permitted applications depend on the applicable standard and manufacturer.
Why Rigid Conduit Size Matters
Correct sizing provides sufficient space for conductors while helping maintain an installation that can be assembled, wired, inspected, and maintained properly.
An undersized raceway can make conductor pulling difficult and may violate applicable fill requirements. An appropriately sized raceway provides a practical path for the conductors without unnecessary overcrowding.
Understanding Rigid Conduit Trade Size
One of the most important concepts when measuring rigid conduit is the difference between trade size and actual dimensions.
A conduit labeled as 1 inch does not necessarily have an outside or inside diameter of exactly 1 inch. Trade size is a standardized designation used to identify the raceway.
Trade Size vs. Actual Diameter
Rigid conduit has several relevant dimensions:
- Trade size: Standard nominal designation.
- Outside diameter: Distance across the exterior of the conduit.
- Inside diameter: Distance across the internal opening.
- Wall thickness: Difference between the exterior and interior surfaces.
- Length: Distance covered by the raceway.
- Threaded portion: Area prepared for compatible fittings and connections.
For conductor capacity, the inside diameter and resulting internal area are particularly important.
Tools Needed to Measure Rigid Conduit
You do not always need specialized equipment to identify conduit size, but the right tools can improve accuracy.
Useful tools include:
- Tape measure
- Steel ruler
- Vernier or digital caliper
- Flashlight
- Conduit size chart
- Manufacturer dimensional data
- Calculator
- Appropriate electrical testing equipment when working around existing wiring
A caliper is particularly useful when the end of the conduit is accessible because it can provide a more precise measurement of the outside or inside diameter.
Never assume that measuring a conduit on an energized electrical installation is safe. Existing electrical equipment should be handled using appropriate electrical safety procedures.
How to Measure Rigid Conduit Step by Step
The most reliable approach is to identify the raceway first and then verify its dimensions.
Step 1: Identify the Conduit Type
Determine whether the raceway is:
- RMC
- IMC
- Another rigid metal raceway
- A different conduit type that may look similar
This matters because different raceway types can have different wall thicknesses and internal dimensions even when their trade sizes are similar.
Look for manufacturer markings or identifying information printed, stamped, or otherwise provided on the conduit.
Step 2: Locate the Trade Size Marking
Inspect the conduit for markings that identify its size.
If the trade size is visible, this is normally the easiest way to establish the nominal size. If the marking is missing or unreadable, physical measurements can help identify the likely size.
However, do not identify a conduit solely by assuming that its outside diameter equals its trade size.
Step 3: Measure the Outside Diameter
Place the measuring tool across the outside of the conduit.
For a precise measurement, a caliper is preferable. With a tape measure, measure straight across the widest point of the circular exterior.
Record the result consistently in inches or millimeters.
The outside diameter can help identify the conduit, but it does not by itself determine how much space is available for conductors.
Step 4: Measure the Inside Diameter
If the conduit is open and accessible, measure across the internal opening.
This can be done with:
- Inside jaws of a caliper
- A suitable measuring gauge
- A ruler when the opening is large enough for accurate measurement
Measure from one inner wall directly across to the opposite inner wall.
The inside diameter is especially important when evaluating conductor capacity because the wires occupy the space inside the raceway.
Step 5: Determine Wall Thickness
Wall thickness can be calculated when both outside and inside diameters are known:
Wall thickness = (Outside diameter − Inside diameter) ÷ 2
For example, if a theoretical conduit has an outside diameter of 1.5 inches and an inside diameter of 1.3 inches:
Wall thickness = (1.5 − 1.3) ÷ 2
Wall thickness = 0.1 inch
For actual electrical work, use published dimensional data for the exact conduit rather than relying on a calculated approximation.
Step 6: Measure the Conduit Length
Measure the total raceway length when planning a new installation or evaluating an existing run.
Record:
- Straight sections
- Vertical sections
- Horizontal sections
- Offsets
- Bends
- Pull points
The length does not simply determine conduit diameter, but long runs can significantly affect conductor-pulling requirements.
Step 7: Count the Conductors
Before selecting a rigid conduit size, determine how many conductors will occupy the raceway.
Count the applicable:
- Ungrounded conductors
- Grounded conductors
- Grounding conductors
- Other conductors sharing the raceway
The applicable electrical code determines how particular conductors are treated for fill calculations.
Rigid Conduit Size Chart
The following chart provides common rigid conduit trade-size designations. It is intended as a sizing reference rather than a substitute for dimensional tables for a specific RMC or IMC product.
| Trade Size | Nominal Designation | General Application |
|---|---|---|
| 1/2 in. | Small | Compact wiring installations |
| 3/4 in. | Small | Branch circuits and equipment |
| 1 in. | Medium | Larger branch wiring |
| 1-1/4 in. | Medium-large | Multiple conductors |
| 1-1/2 in. | Large | Larger wiring arrangements |
| 2 in. | Large | Feeders and equipment |
| 2-1/2 in. | Extra-large | Higher conductor capacity |
| 3 in. | Large raceway | Larger feeder installations |
| 3-1/2 in. | Large raceway | High-capacity installations |
| 4 in. | Large raceway | Major feeder and distribution runs |
Actual inside and outside dimensions vary according to conduit type and applicable product specifications.
How to Calculate Rigid Conduit Fill
Measuring the conduit is only the first part of sizing. You also need to determine how much of its interior can be occupied by conductors.
For a circular opening, the theoretical cross-sectional area is:
Area = π × (D ÷ 2)²
where D is the inside diameter.
For example, a circular opening with a theoretical inside diameter of 2 inches has a total geometric area of approximately 3.14 square inches.
That does not mean 3.14 square inches can automatically be filled with conductors. Electrical codes specify allowable raceway-fill percentages.
Conductor Fill Calculation
First determine the area occupied by each conductor:
Total conductor area = Conductor 1 + Conductor 2 + Conductor 3 + …
Then compare the combined area with the allowable fill area for the specific raceway and conductor arrangement.
For many NEC raceway applications, commonly referenced fill limits are 53% for one conductor, 31% for two conductors, and 40% for three or more conductors, subject to the complete applicable rules and exceptions.
Always verify the current requirements that apply to the actual installation.
Also Read:
How to Choose Rigid Conduit Size for Wires
Selecting rigid conduit involves more than determining whether the wires physically fit.
Consider Wire Size
Larger conductors occupy more space. The actual outside diameter of the conductor, including insulation where applicable, should be used when calculating physical fill.
Consider the Number of Conductors
More conductors require more internal space. A conduit that works for three conductors may not be suitable for six conductors of the same size.
Consider Conductor Type
Conductor construction and insulation can affect physical dimensions. When precision matters, use manufacturer information for the specific conductor.
Consider Installation Conditions
Evaluate:
- Raceway length
- Number of bends
- Conductor size
- Number of conductors
- Ambient conditions
- Raceway environment
- Pulling requirements
- Applicable electrical-code rules
A practical installation may benefit from more room than the absolute minimum when the design permits it.
Rigid Conduit Measurement and Wire Ampacity
Conduit fill and conductor ampacity are two separate considerations.
Conduit fill determines whether there is sufficient physical space inside the raceway.
Ampacity concerns the amount of current a conductor can carry safely under specified conditions.
When several current-carrying conductors share a raceway, ampacity adjustment may apply depending on the installation.
This means a conduit can have adequate physical space while the electrical design still requires an ampacity review.
Factors Affecting Conductor Ampacity
Depending on the installation, consider:
- Number of current-carrying conductors
- Conductor insulation temperature rating
- Ambient temperature
- Terminal temperature limitations
- Installation method
- Applicable adjustment and correction factors
Conduit sizing should therefore be completed alongside the appropriate conductor calculations rather than treated as an isolated measurement.
Also Read:
How to Measure Existing Rigid Conduit
Existing installations can be more difficult because the conduit may already contain wires or be connected to electrical equipment.
When the Conduit Is Accessible
If the end of the conduit is exposed, inspect:
- Raceway markings
- Outside diameter
- Inside diameter
- Threaded end
- Conduit material
- Fittings and connectors
Use manufacturer information to confirm the likely trade size.
When Wires Are Already Inside
Do not remove or disturb conductors simply to measure the raceway unless the work is being performed under appropriate electrical procedures.
Instead, identify the conduit from visible markings, accessible dimensions, fittings, drawings, or installation documentation.
If the conduit must be opened or modified, the circuit should be handled using appropriate electrical safety practices.
How Bends Affect Rigid Conduit Sizing
Bends are an important part of conduit installation even though they do not necessarily change the basic cross-sectional fill calculation.
A raceway containing several bends can make conductor pulling more difficult.
Common Bend Considerations
Pay attention to:
- Total number of bends
- Bend angle
- Distance between bends
- Conduit length
- Pulling direction
- Location of pull points
- Conductor stiffness
Rigid conduit is often bent during installation, so accurate measurements and proper bending practices are important for achieving the intended route.
When a run becomes difficult to pull, simply choosing a larger conduit is not always the only solution. Better routing, appropriate pulling points, or changes in the raceway layout may also be necessary.
Also Read:
Common Rigid Conduit Sizing Mistakes
Confusing Trade Size With Diameter
A 1-inch trade-size conduit should not automatically be assumed to have a 1-inch inside diameter.
Measuring Only the Outside
Outside diameter helps identify a conduit but does not tell you the actual conductor capacity.
Ignoring Wall Thickness
Different raceway types can have different wall thicknesses. This affects the available interior space.
Forgetting Conductor Fill
A raceway must have adequate allowable fill for the specific number and size of conductors.
Ignoring Grounding Conductors
Grounding and bonding conductors may have specific treatment under the applicable fill rules. Do not simply omit them from the calculation.
Using Nominal Wire Size as Physical Diameter
AWG or metric conductor size does not necessarily represent the conductor’s complete outside diameter. Insulation and construction also matter.
Choosing Conduit Based Only on Wire Ampacity
Ampacity tells you about current-carrying capacity; it does not determine the physical space needed inside the raceway.
Tips for Accurate Rigid Conduit Measurement
For better results, follow a consistent measurement process:
- Identify the raceway type first.
- Look for the manufacturer’s trade-size marking.
- Measure the inside diameter when accessible.
- Measure outside diameter when identification is necessary.
- Use manufacturer dimensional tables for exact specifications.
- Record measurements using consistent units.
- Count every applicable conductor.
- Determine conductor outside dimensions when required.
- Check allowable raceway fill.
- Consider bends and pulling conditions.
- Verify conductor ampacity separately.
- Check the applicable electrical code and local requirements.
For complicated commercial or industrial installations, professional verification can help avoid sizing and compliance problems.
Frequently Asked Questions About Measuring Rigid Conduit
How is rigid conduit size measured?
Rigid conduit is normally identified by its trade size, while physical measurement can include outside diameter, inside diameter, wall thickness, and length. The inside diameter is particularly important when determining conductor capacity.
Does rigid conduit size equal its inside diameter?
No. Trade size is a standardized designation and does not necessarily correspond directly to the actual inside diameter.
What is the easiest way to identify rigid conduit size?
The easiest method is usually to locate the manufacturer’s size marking on the conduit. If markings are unavailable, measure the conduit and compare the dimensions with the applicable manufacturer’s specifications.
Should I measure the inside or outside of rigid conduit?
Both measurements can be useful. The outside diameter helps with physical identification and installation clearances, while the inside diameter is more important for conductor space and fill calculations.
Can I use a conduit size chart to select RMC or IMC?
A trade-size chart is useful as a starting point, but precise sizing should use the dimensional information for the exact raceway type and applicable standard.
Does the number of wires affect rigid conduit size?
Yes. Increasing the number or physical size of conductors increases the required interior space and can change the appropriate conduit size.
Do bends change conduit fill?
The basic cross-sectional fill calculation is based on the raceway and conductor dimensions, but bends can substantially affect pulling difficulty and installation practicality.
Is rigid conduit the same as EMT?
No. RMC and IMC are rigid metal raceways with different construction and dimensional characteristics from EMT. Their trade sizes should not be assumed to have identical internal dimensions.
Conclusion
Learning how to measure rigid conduit requires more than measuring its outside diameter. Start by identifying the raceway type and trade size, then verify the inside diameter, wall thickness, length, and conductor requirements. For new installations, calculate conductor fill using the dimensions of the actual raceway and conductors.
The final conduit selection should also account for bends, pulling conditions, conductor ampacity, environmental requirements, and the electrical code governing the installation. When exact dimensions matter, always use the manufacturer’s specifications rather than relying on nominal size alone.